
.png)
Build your first embedded data product now. Talk to our product experts for a guided demo or get your hands dirty with a free 10-day trial.


Data analysis is crucial for identifying trends and patterns that might otherwise go unnoticed. By inspecting and analyzing data, businesses can uncover valuable insights that drive innovation, optimize operations, and reveal opportunities for growth that can significantly enhance their competitive advantage.
In this article, I'll demonstrate how I used Luzmo to create a real-time dashboard that visualizes the page views from my site over the past 7 days using Luzmo’s Google Analytics integration. I've displayed this data using a bar chart and set up a scheduled alert to automatically share these insights in a public Slack channel.
Below is a screenshot of my Luzmo dashboard and the corresponding alert posted to Slack. In the following sections, I'll walk you through the steps I took to achieve this.

Analyzing data is a complex task that requires significant expertise. It involves not only gathering data from multiple sources but also transforming it into formats that can uncover valuable insights. The challenges are ongoing, as data continuously updates, often in significant volumes, making the analysis a perpetually dynamic process.
Real-time data viewing and analysis enables decision-makers to make timely and well-informed decisions when it counts.
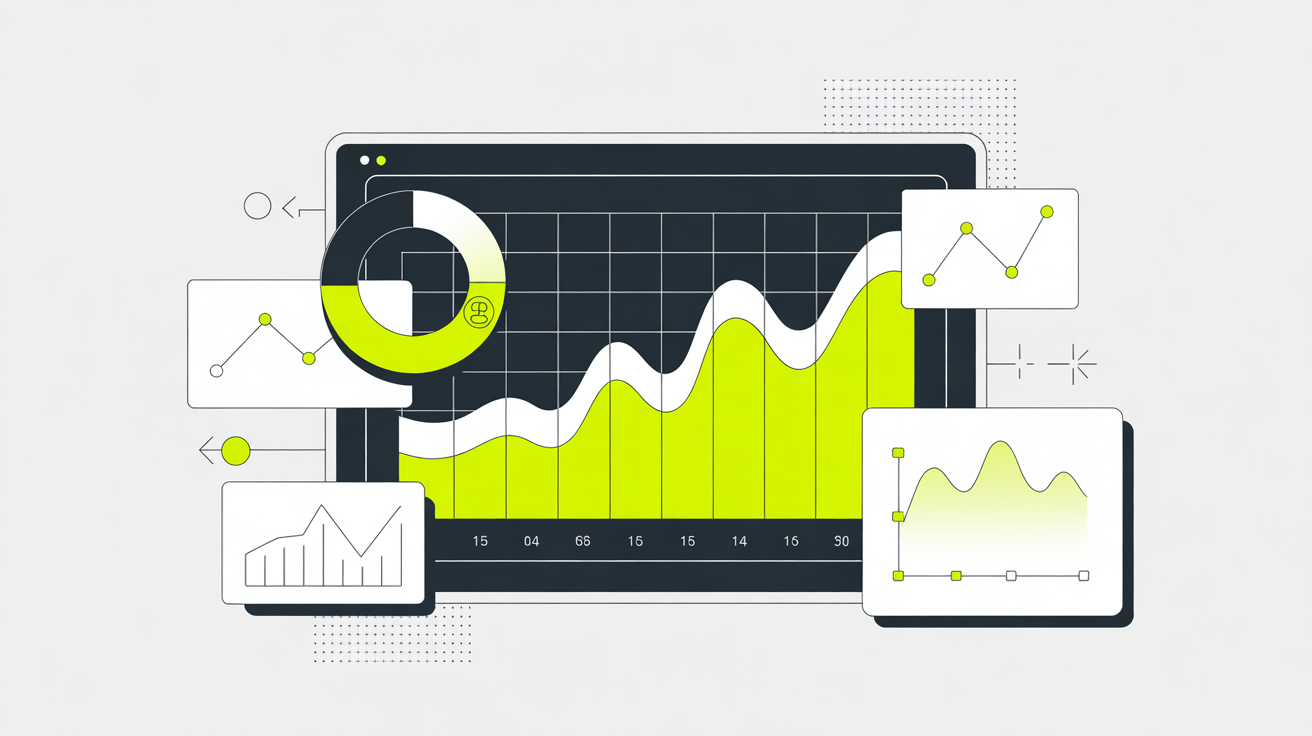
One effective approach to simplify the process of data analysis is data visualization. By converting large datasets into clear and interpretable graphical representations, data visualization makes it easier to grasp and understand the underlying trends and information.
Naturally, there's more to consider. Once these insights are uncovered, communicating them effectively to key stakeholders within your organization becomes an entirely new challenge.
… and it’s here where Luzmo can help!
Luzmo offers a comprehensive suite of tools for building data visualizations and monitoring systems — without needing to write a single line of code!
To follow the steps outlined in this article, there are a couple of things you’ll need. They are as follows.
To create a new dashboard in Luzmo, head over to /dashboards, and click New dashboard.
The dataset I've used is provided by Luzmo’s Google Analytics integration. On the right-hand sidebar, click the + or New dataset button.

Select Google Analytics from the modal. If Google Analytics isn’t already connected to your account, follow the steps to connect it. You can remove connections at any time from the /connections section of Luzmo.
Once Google Analytics is connected, you can now create a new dataset. To create a dataset that displays the most frequently visited pages from my site, I used the Custom selection functionality from the options.

There are three metrics required to build the bar chart for page views, they are as follows:

Use the search bar within the modal search for each of the above to add them to the selection. When you’re ready, click Import.
You can learn more about Google reporting dimensions using the GA4 Query Explorer.
With the dataset now imported, create a bar chart by clicking Add item, then select Bar chart.
Drag the Page path data on to the Bar chart category hotspot, and the Total users data onto the measure hotspot.

You should now be looking at something similar to the below image.

The chart is currently displaying too much data for it to be usable but, by using the settings you can Order and Limit which data is to be displayed.
Click on the chart and select the settings cog icon to open the chart settings.
Under the GENERAL menu, select absolute for the Show value in bar option.
Under the ORDER & LIMIT menu select Limit, Top and 10. For the Order you can select By measure and descending.

The final step is to apply a filter to the data. Click on the chart, then click the data table icon to open the filters modal. Click Add filter to get started.

From the options, choose Date, last (x) periods, 7 and day(s). When you’re ready, click Apply filters. This will produce a data set that only includes page views from the last 7 days.
You should now be looking at something similar to the below image.

That completes the data visualization section of this article. Next, I'll show you how to build a Slack app.
To build the Slack App that will receive notifications from Luzmo and post them to a channel, head over to https://api.slack.com/apps.
Click Create an App to get started.

On the next screen, choose the From app manifest option.

Complete the configuration steps and select the Slack workspace you’d like to create the app for, but keep an eye out on Step 2 of 3, it’s where you can give your app a name.
I’ve named my app Traffic App. When you’re ready, click Next to complete the remaining steps.

A webhook is a URL that can be called and provided with a payload which is used as a Slack message. A Luzmo Alert can be configured to perform this automatically and all that's required is the Slack Webhook URL.
To create a Webhook, click Incoming Webhooks and complete the setup steps where you’ll be asked to choose a Slack workspace, and channel for where the alert will be posted.
In my example, I’ve created a channel in my Slack workspace named #traffic.

If you’ve completed the setup steps, you should now be able to copy your Webhook URL. You’ll need this in the next step when we create a Luzmo Alert.

You can learn more about Slack Webhooks in the docs: Sending messages using incoming webhooks.
Head back over to your Luzmo dashboard and click on the download icon on the chart. From the drop-down menu, select Set an alert. You can delete alerts at any time from the /profile section of Luzmo.

From the modal that opens up, give your Alert a name. Then, configure the TRIGGER, CATEGORY and FILTER.

For my requirements, the trigger is set to count rows for total users when the threshold is greater than 1. The category is set on the Page path and I'm filtering data from the last 7 day(s).
When you’ve configured the options, click Next to continue.
To determine when the alert is triggered, you can configure the scheduling options. For my requirements, I’ve scheduled the alert to run every 7 days. You can choose from a number of options, the most frequent an alert can be triggered is once an hour, and the least frequent is once a year.
The last step is to select which CHANNEL you’d like to post to. I’ve selected Slack and selecting the #traffic channel I created in an earlier step.

Check that you’ve selected the correct channel before clicking Create.

That completes the alert setup stage. You should now receive a Slack notification to the #traffic channel every 7 days details the page views for the last 7 days.
Here’s a screenshot of my #traffic channel displaying my weekly Traffic Report.

If you’d like to customize your chart, head back over to your dashboard and click the settings cog icon on the chart. Here you’ll find a number of configuration options. In the screenshot below, I’ve changed the bar color.
You can also give both your dashboard, and chart a title by clicking on the placeholder text fields.

Whilst in this example I’ve created a single dashboard that can be viewed on a URL, with Luzmo it’s also possible to embed a dashboard in an existing application. By embedding the dashboard and creating an embed token as part of your users auth flow, you can provide each user with their own instance of the dashboard.
Each user would then have the ability to create and set their own alerts with triggers specific to their requirements, and even choose which service to use: Email, Slack, SMS or Webhook.
In a future article, I'll handle the embedding to show how you can build data products quickly using Luzmo and whichever tech stack you're already using. So stay tuned!
Accessing Google Analytics data can be challenging because content teams are often hesitant to grant access. However, using Luzmo to build a custom dashboard that highlights key aspects of your analytics can make it much easier to understand and share analytics data. Plus, If providing access to the Luzmo dashboard is still an issue, you also have the option of posting the data to a public Slack channel accessible to everyone in your organization. This approach helps keep everyone informed without compromising security.
I used the example of Google Analytics data here, but you could do the same with any use case, and leverage any data source you can think of. If Luzmo sounds like it’s a good fit for your business, sign up today.

Build your first embedded data product now. Talk to our product experts for a guided demo or get your hands dirty with a free 10-day trial.


